During Landing Pages development, I need to convert lots of PNGs to WebP format and using tools like Convert Cloud is easy but its paid now. I didn’t want to pay for converting my PNGs to WebP when there are free tools available. So I created a Quick Action on my mac using 1 such utility to convert PNG to WebP which works even better than using an online tool.
Here is how I do it in 1 click (For Free)
- Install webp tool on your mac, use command
brew install webp - Use automator to create a Quick Action.
- Open Automator (
Cmd + Space, search Automator). And create a new document. - Choose “Quick Action”
- Configure the top options:
- Workflow receives current →
image files - in →
Finder
- Workflow receives current →
- In the left panel, search for “Run Shell Script”, then drag it to the workflow.
- Use below script (it auto-converts PNGs to WebP in the same directory). Replace
/opt/homebrew/bin/cwebpwith the actual path tocwebpif installed differently (usewhich cwebpto check). - Select
as argumentinPass inputdropdown. - Save it as something like:
Convert to WebP.
- Open Automator (
- Done
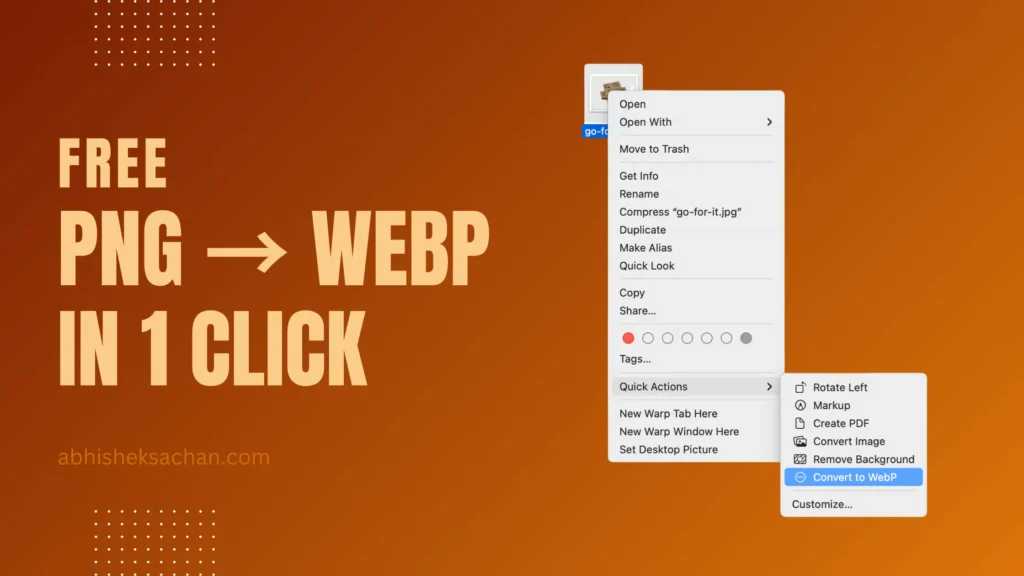
- Right-click any
.pngfile → go to Quick Actions → Convert to WebP.
- Right-click any
Code for Converting PNG to WebP
for f in "$@"
do
  ext="${f##*.}"
  filename="${f%.*}"

  /opt/homebrew/bin/cwebp "$f" -o "${filename}.webp" >/dev/null 2>&1

  if [ ! -f "${filename}.webp" ]; then
    osascript -e 'display notification "Failed to create WebP file." with title "Convert to WebP" sound name "Basso"'
  fi
done
This code takes the image file you select as input, take out its name, create a new webp using command cwebp input_file.png -o output_file.webp to generate a new file.
You can also download this below file → UnZip it → Double Click to install in your Automator.
Note: You can use the webp utility on linux and windows as well, the shortcut configuration might differ based on the OS you use.